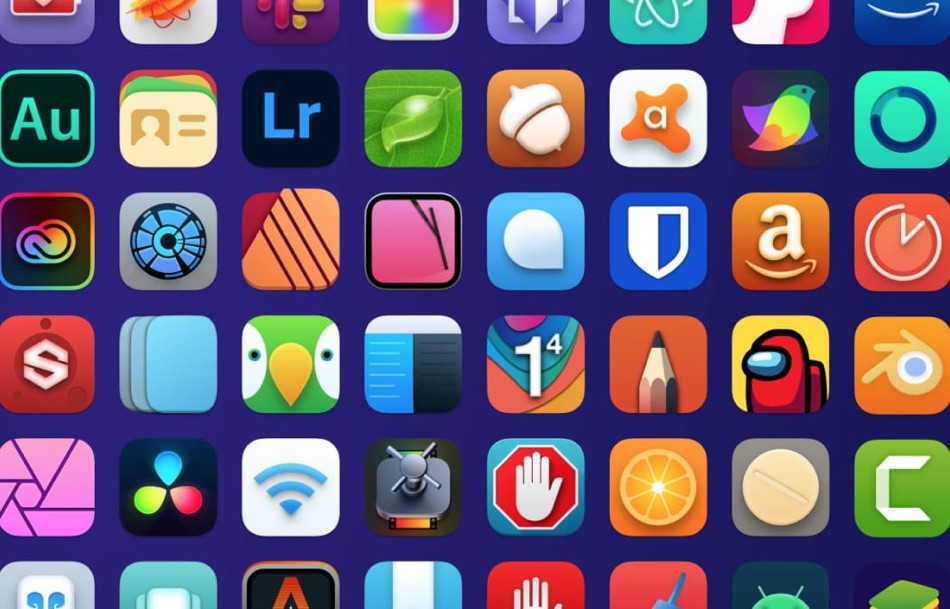
With macOS Big Sur Apple has changed the way macOS icons look. After the update the first things users noticed was how the new icons look very similar to the ones they have on their iPhone and iPad.
Unlike older macOS icons macOS Big Sur icons feature a square design with rounded edges. No matter if you are a fan of the new icon design or if your favorite third-party app has not been updated to support the new look of the icons, you are going to love the macOSicons website.
This website offers thousands of macOS Big Sur replacement icons allowing users to download them for free. On macOSicons website users can find replacement icons for almost all of macOS stock apps and tools as well as icons for all the famous apps you can imagine.
For many of the popular apps users will also find multiple icons for the same application. For example for Adobe Lightroom you will find 5 icons on the website all with a different look and design.
The best thing about macOSicons website is that anyone can submit icons on the website, which means the number of quality icons on the site will continue to increase.
The website has a very easy to use interface and allows users to search for the macOS Big Sur replacement icons that they want. Once you have found your desired icon you can simply click on it in order to download it on your Mac.
How to install icon on macOS Big Sur
Once you have downloaded macOS Big Sur replacement icons from the macOSicons website mentioned above, you can easily apply an icon to the app by following these steps.
Steps for how to install icons on macOS Big Sur:
- Open Finder and access the Applications folder from the side pane.
- Find the app you want to change the icon for and right-click on its icon.
- From the menu click on Get Info option.
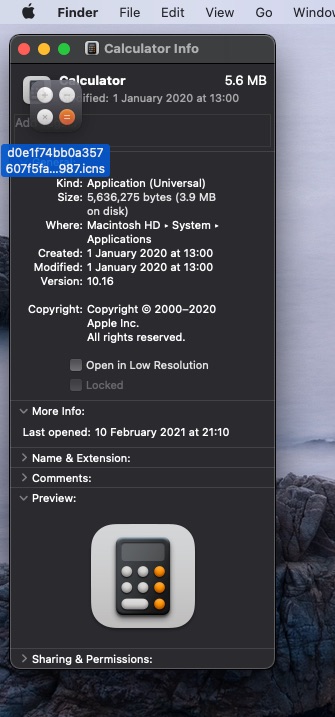
- Now drag the downloaded file to the current icon on the Info window.
That’s it, the new macOS Big Sur replacement icon should now be applied to your app. You can repeat the steps given above on any app of your choice.


