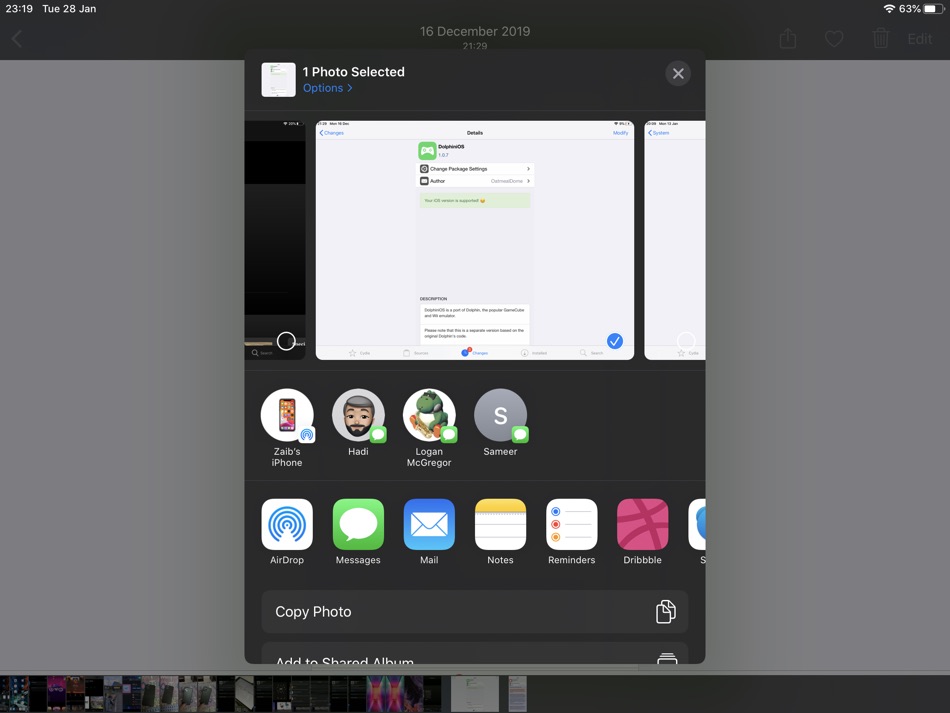
If you use AirDrop to send and receive photos, videos, and other content then you might have encountered the annoying problem where your device cannot be uniquely identified.
For example, if you are in a public place with many iPhone users around you, all of their iPhones will show up in the AirDrop list whenever you or your friend is trying to send an item. Since most iPhones appear with their default name ‘iPhone’, knowing which one belongs to your friend can become tricky.
This situation can not only raise confusion but can also be a privacy concern since you don’t want to be in a situation in which you end up sharing your intimate photos or videos with the wrong person.
While AirDropping, by default your iPhone or iPad is identified with its default name that is iPhone or iPad, however, you can easily change this setting and make your iPhone more recognizable on AirDrop.
In this guide, you will find steps that will let you change AirDrop name of iPhone, iPad, and Mac for easier transfers and to avoid confusion when sending photos or videos to friends via AirDrop.
Change AirDrop Name on iPhone And iPad

Here’s how you can easily change AirDrop name for your iPhone or iPad and make the name more personal and recognizable.
Step 1. Open the Settings app on your iPhone or iPad.
Step 2. Go to General and then tap on the ‘About’ option.
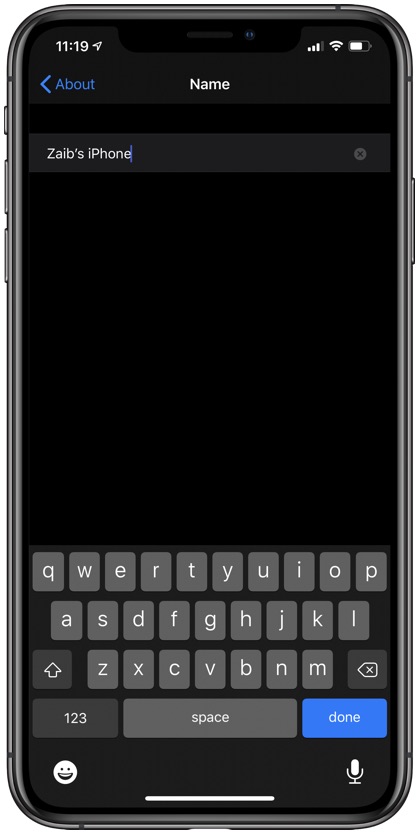
Step 3. Finally on the About page tap on ‘Name’ and then from the next page type the name that you want to use for your iOS device.
The name you enter will appear on other people’s iOS devices when they try to AirDrop you something.
While you can choose any name of your choice, it is common for users to simply use a name like ‘Zaib’s iPhone’, etc, so that it is easier for their friends to know which iPhone belongs to them in case they are getting more than one options on the AirDrop menu.
Change AirDrop name of a Mac
On a Mac running macOS Ventura or later follow the steps below.
Step 1. Click on the Apple logo from the menu bar and open System Settings.
Step 2. From the side pane click on the ‘General’ option.
Step 3. From the General page click on the current name of your Mac written next to the label ‘Name’.
Step 4. Type your desired name.
The Mac name you enter here will be your Mac’s AirDrop name from now on.


