


If you have multiple Wi-Fi networks at home or office and have all of them set up on your Mac, then you would know that macOS always gives one of them preference over the other. If that particular Wi-Fi is not working, then it will automatically connect to the next Wi-Fi network that has an active internet connection.
If you want to control and dictate which Wi-Fi network your Mac should connect to first, then you have come to the right place. In this post we will show you how you can configure the network preference list based on your personal preference. So you can set up Wi-Fi network 1 to connect first, and place Wi-Fi 2 and Wi-Fi 3 to second and third preference locations.
Change Wi-Fi Network Preference Settings On Your Mac
1. On your Mac click on the Wi-Fi icon from the menu bar and click on ‘Open Network Preferences…’.
2. On the Network Settings page click on the ‘Advanced…’ button.
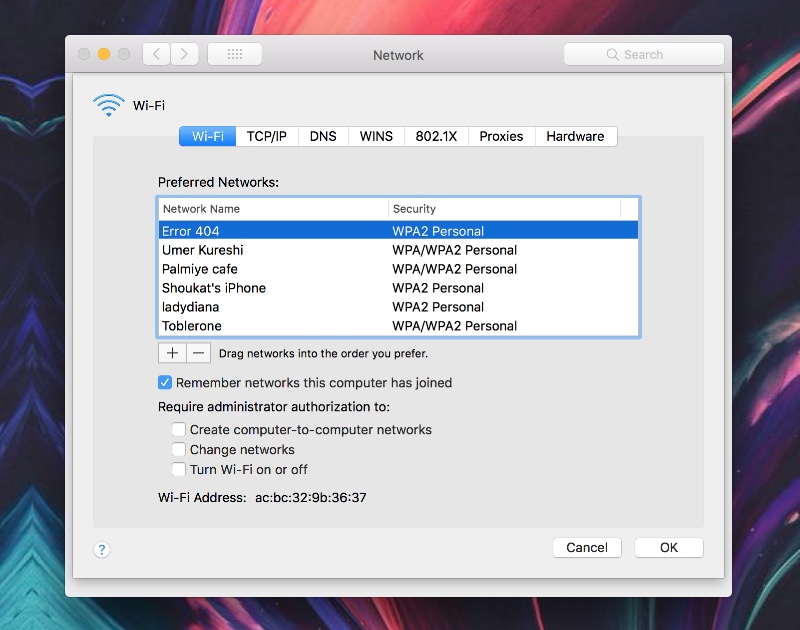
3. Now under the Wi-Fi tab you will see a list of ‘Preferred Networks’. These are all the Wi-Fi networks you have connected to with you computer and iPhone.
4. Click on the Wi-Fi network, once it is selected move it up or down based on the preference number you want to put it at. So the most preferred Wi-Fi will go to the first spot on this list and then second, third and so on.
5. Once you have moved the networks to your desired locations simply click on the ‘OK’ button and exit.

