If you are getting prompts that say iCloud has run out of storage and in order to continue iCloud Backups you have to buy more storage, then we have got the perfect solution for you. In this article we will show you how you can delete iCloud Backups from your iPhone, iPad or iPod touch and free up iCloud storage. Freeing up iCloud storage will not only allow you to create more backups but will also get rid of the annoying prompts.
Delete iCloud Backups And Free Up iCloud Storage
Follow the simple instructions below in order to delete iCloud Backups from your iPhone or iPad.
- On your iOS device open the Settings app.
- Go to iCloud and then tap on the ‘Storage‘ option.
- From the Storage page tap on the ‘Manage Storage‘ option.
- The Manage Storage page will list your current iPhone backups. Simply tap on the one you want to delete.
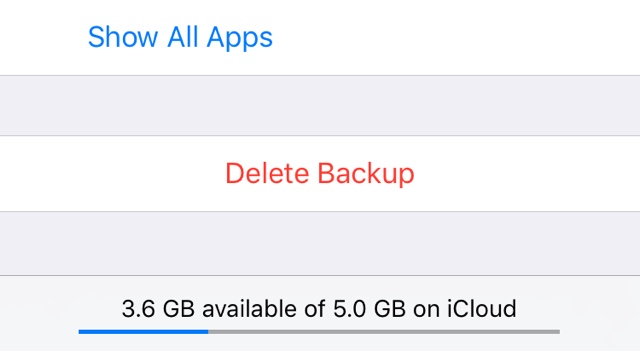
- On the ‘Info‘ page scroll down and tap on the ‘Delete Backup‘ button.
- Finally tap on ‘Turn Off & Delete‘ option from the slide up menu.
This will delete the iCloud Backup you selected and free up disk space equivalent to it in your iCloud account. If you are on a Mac though you can also delete iCloud backups, here’s how.
On the Mac: Open System Preferences > iCloud > Manage. From the side pane select ‘Backups’, click on the backup you want to delete and hit the ‘Delete’ button.
If you want to continue having the backups saved on your iCloud without running into storage issues, then we recommend turning off certain items from getting backed up in iCloud. You can do so by following the steps below.
Remove Certain Items From iCloud Backup And Save Storage
- Go to Settings > iCloud > Manage Storage.
- Under ‘Backups‘ tap on backup of your device.
- From the next screen turn off the toggle for items that you don’t want to be backed up in iCloud.


