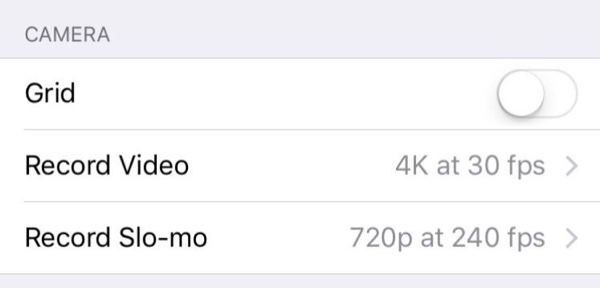
One of the many new exciting features that have been introduced in the new iPhone 6s and iPhone 6s Plus is the 4K video recording. This feature allows users to record videos at 4K resolution, meaning the recordings are extremely high quality. If you have just bought an iPhone 6s, then you might have noticed that the 4K video recording is not enabled by default. This is because such videos take up a lot of storage, so Apple wants to give users choice of whether they want to enable it or not. In this post we will show you how you can enable or disable 4K video recording on your new iPhone.
How to Enable or Disable 4K video recording on iPhone
1 ) On your device open the Settings app and look for ‘Photos & Camera’ option.
2 ) Once inside ‘Photos & Camera’ menu, look for the ‘Camera’ setting and tap on the ‘Record Video’ option.
3 ) On the next screen you will find 4 different options that you can choose from. You can select 720p at 30 fps, 1080p at 30fps, 1080p at 60fps and finally 4K at 30fps. Simply select the 4K option and you are good to go. In case you want to disable 4K then select any other option.
Always selecting the 4K option for video recording isn’t a good idea, as these videos generally have a huge size. In the menu Apple tells the users how much each video size would take for one minute footage. Find out the size of each recording size for a 1 minute footage below.
- 720p at 30fps: 60MB
- 1080p at 30fps: 130MB
- 1080p at 60fps: 200MB
- 4K at 30fps: 375MB
As you can see there’s a significant difference between how much space each video setting take. So if you are running low on storage capacity or own a 16GB iPhone, you should only use 4K when you absolutely need it.


