


macOS enables users to quickly put their MacBook to sleep with a quick keyboard shortcut or through the Sleep option found under the Apple menu. While the sleep keyboard shortcut is the fastest and most convenient way of putting your MacBook to sleep, unfortunately this keyboard shortcut is not available on MacBook’s with Touch Bar.
Due to lack of traditional power button like the one found on the non-Touch Bar models, by default Touch Bar MacBook users are forced to put their Mac to sleep through the Apple menu. However there’s a simple and quicker way. Read on to learn how to add a quick sleep button to MacBook’s Touch Bar for faster access.
Add Sleep Shortcut button to Touch Bar
In this step by step tutorial we will be adding a dedicated ‘Sleep’ button to your MacBook’s Touch Bar. Follow the instructions below.
1. Open System Preferences and click on ‘Keyboard‘.
2. Once you are in Keyboard settings make sure ‘Keyboard‘ tab is selected, then click on Customize Touch Bar button.
3. Once you are in Touch Bar customization mode look for the Sleep button (marked with arrow below) and drag it towards bottom of the screen.
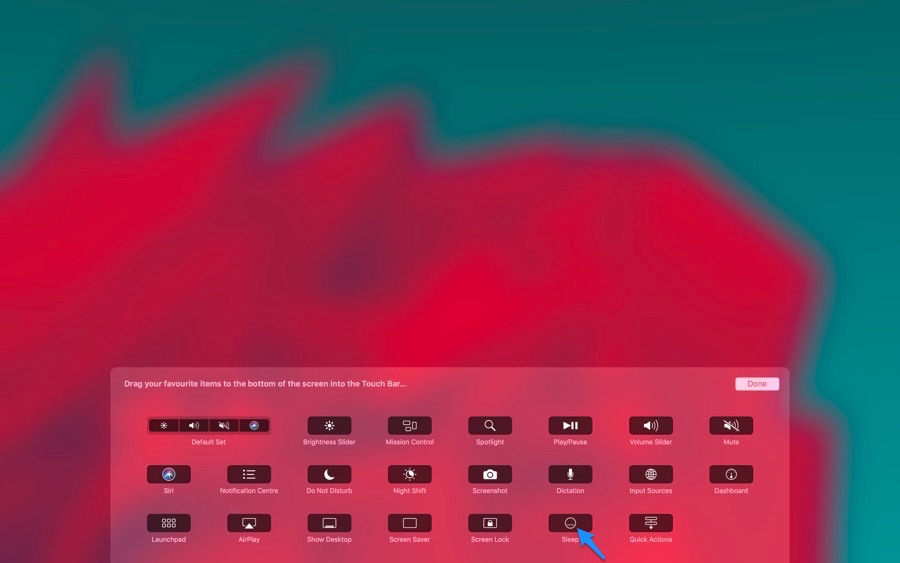
4. This will let you place the sleep button in one of the permanent Touch Bar shortcuts and replace one of the existing shortcuts.
Note: Alternatively, you can tap on the arrow button next to the shortcut bar and then click and drag sleep button to add it to the non-permanent shortcuts. You can place it in any position you want by moving the button with the mouse cursor.
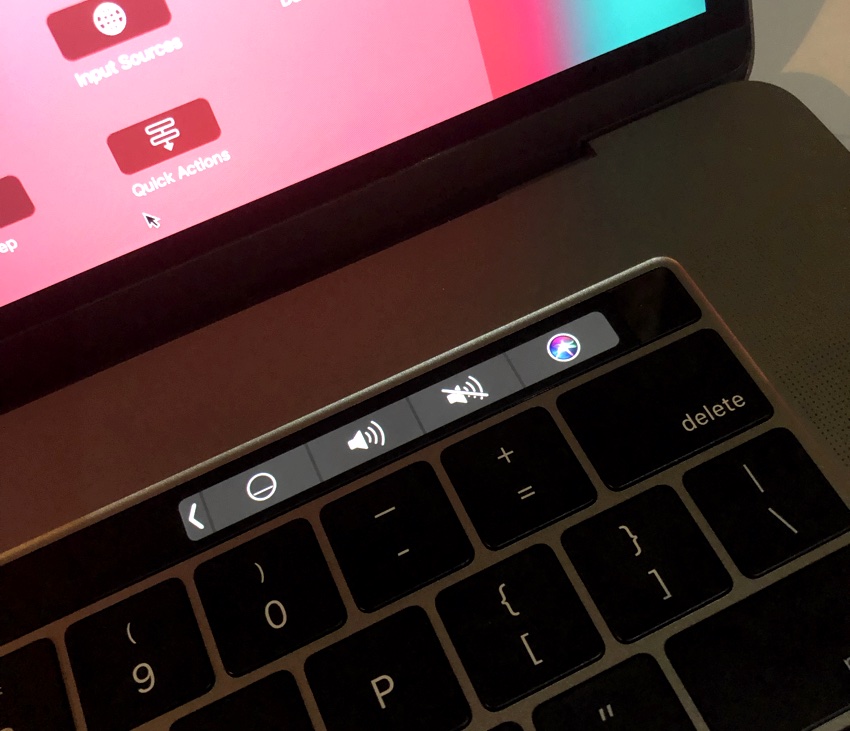
That’s it. After these steps the Sleep button will appear in the Touch Bar (permanently or after you press the arrow button), allowing you to quickly put your Mac to sleep.

