If you are looking for an easy way to install applications on your Mac by just using Terminal commands, then you should try the Homebrew on your Mac. Homebrew and Homebrew cask will not only make it possible for you to easily install many Mac applications, but it will also let you different tasks via Terminal that your Mac normally can’t.
Homebrew is essentially a package manager for macOS and is similar to package managers that area available on Windows or Chocolatey or OneGet that is available for Windows.
Using Homebrew you will be able to quickly download many Mac applications, especially those that are not available in the Mac App Store, directly from the source. The app will download, install and compile the application from the source.
How to Install Homebrew on macOS
Step 1: In order to install Homebrew on your Mac you need to have Xcode installed. If you have full Xcode already, then proceed to the next step. If you don’t and you also don’t want to install full Xcode on your Mac, then you can also download command-line tools for Xcode instead by running the following command in Terminal. This will only install the Xcode command-line tools.
xcode-select --install
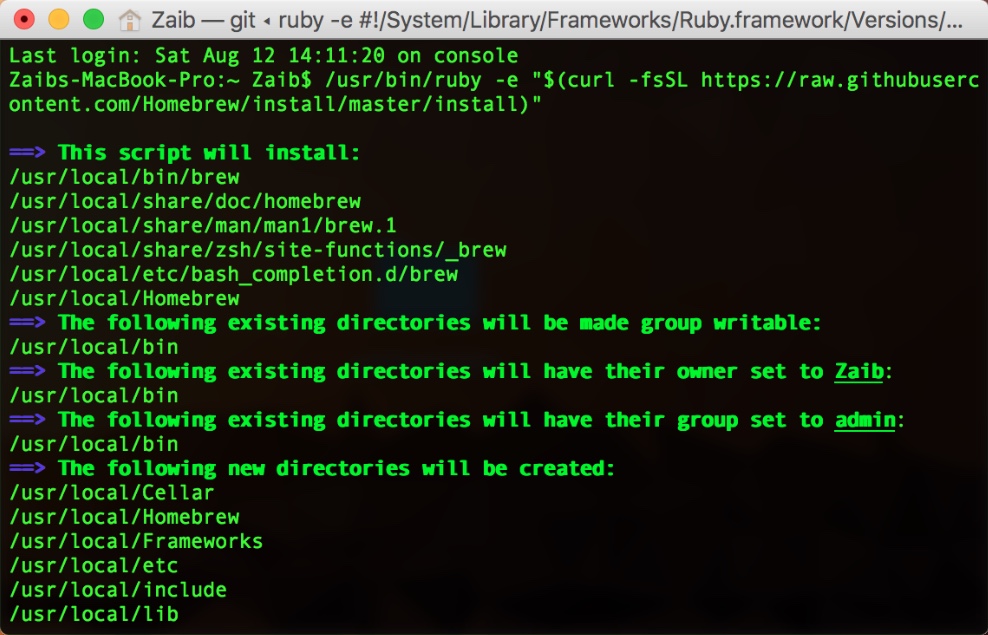
Step 2: Now that Xcode requirement is met, enter the following command in Terminal and hit the Enter key. The script will first inform you what it is going to do, then will ask you to enter your Mac password, after which Homebrew will be downloaded to your machine.
/usr/bin/ruby -e "$(curl -fsSL https://raw.githubusercontent.com/Homebrew/install/master/install)"
Step 3: Once the installation is complete run the following command in Terminal to make sure everything is alright.
brew doctor
Step 4: You should also install Homebrew Cask, which lets you download and install apps that you would normally install by dragging from a DMG file to Applications folder. Run the following command in Terminal.
brew tap caskroom/cask
Installing Graphical User-Interface based apps using Homebrew Cask
Once you have successfully installed Homebrew and Homebrew Cask on your computer, you can use Terminal commands to download and install many applications by using a single command. Here are the commands you use to find, install and uninstall applications using Homebrew cask.
Search
brew cask search name
Install
brew cask install name
Uninstall
brew cask uninstall name
Installing UNIX and Open-Source utilities using Homebrew
You can also use Homebrew to install UNIX and open-source utilities on your Mac by using Homebrew commands. Simply open Terminal and use the following commands to perform different actions.
Search for utility package
brew search name
Download a utility package
brew install name
Removing a utility package
brew remove name
There you go, now your Mac can do much more than what is possible with the stock Terminal. We will be posting more Homebrew tips and tricks in the future so keep an eye on our Homebrew page.


