


 OS X El Capitan beta is already available for public download. So if you want to try the all new features of new OS X you can install it right now. However as it is still in its beta phase and is prone to crashes and bugs it is advised not to install it on your primary devices. Of course we are not telling those who have only one machine at their disposal to not try the new OS X beta. For people with one machine we have a workaround that will let you run both stable and beta versions of OS X side by side. You can install the beta on a separate partition.
Follow the guide below to install OS X El Capitan beta alongside your existing installation.
Things you will need:
- A copy of OS X El Capitan beta. Sign up here to get the beta access.
- A minimum of 25GB (40GB is recommended) free space on your hard drive.
By default Mac comes with a single partition named “Macintosh HD”. But we need a separate partition to not to mess up with your existing installation. So go here and follow the step-by-step process to partition your Mac storage disk. Once done you will be ready to follow on this process.
1. Open Launchpad and run “OS X El Capitan Public beta” app that you have downloaded earlier.
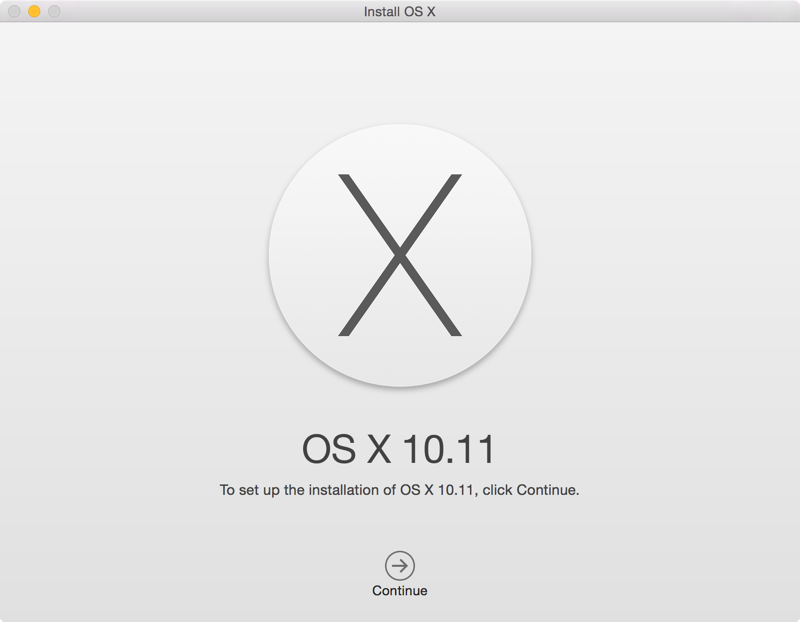
2. OS X installation window will appear. Click on the “Continue” button.
3. On next page click the “Agree” button to accept the “Terms and Conditions”.
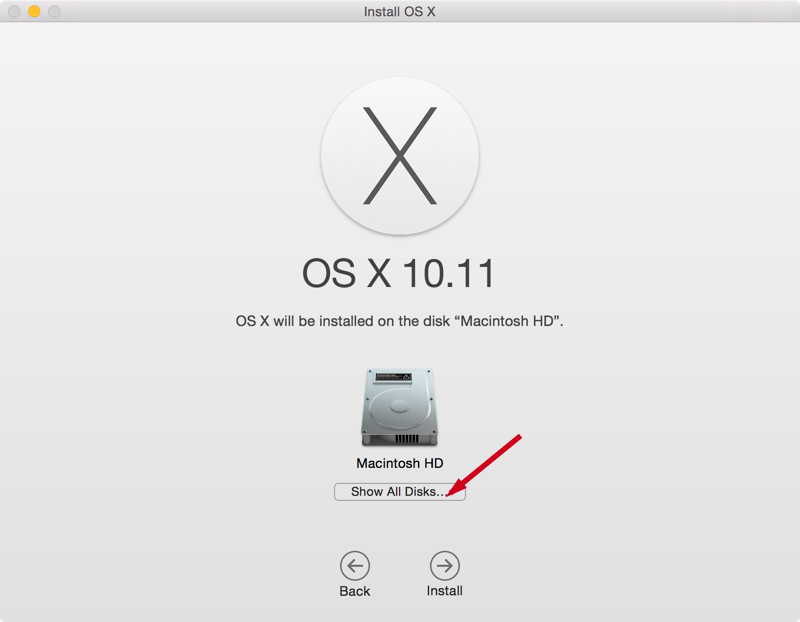
4. Next you will be asked to select a partition to install OS X beta on. Click the “Show All Disks…” button.
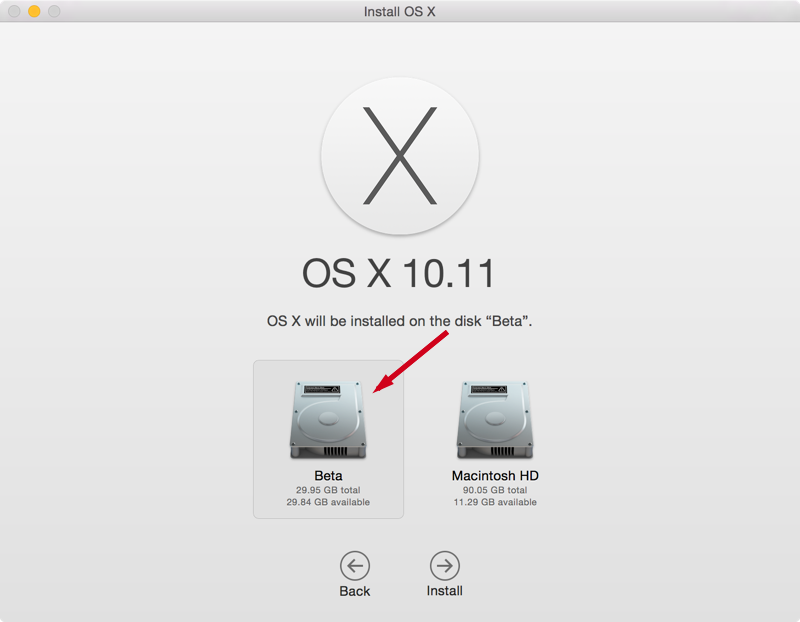
5. Now it will show all the partitions. Select the newly created partition and click “Install”.
6. Wait for installation to finish. It will take about half an hour. Once done your machine will boot into the OS X El Capitan beta.
Now your Mac is dual booting two builds of OS X. You can switch between them by pressing and holding “option/alt” keyboard key at the boot time (do it before pressing the power on/off button) and it will show you the partitions, select the partition you want and press Enter to boot into the selected OS X installation.

