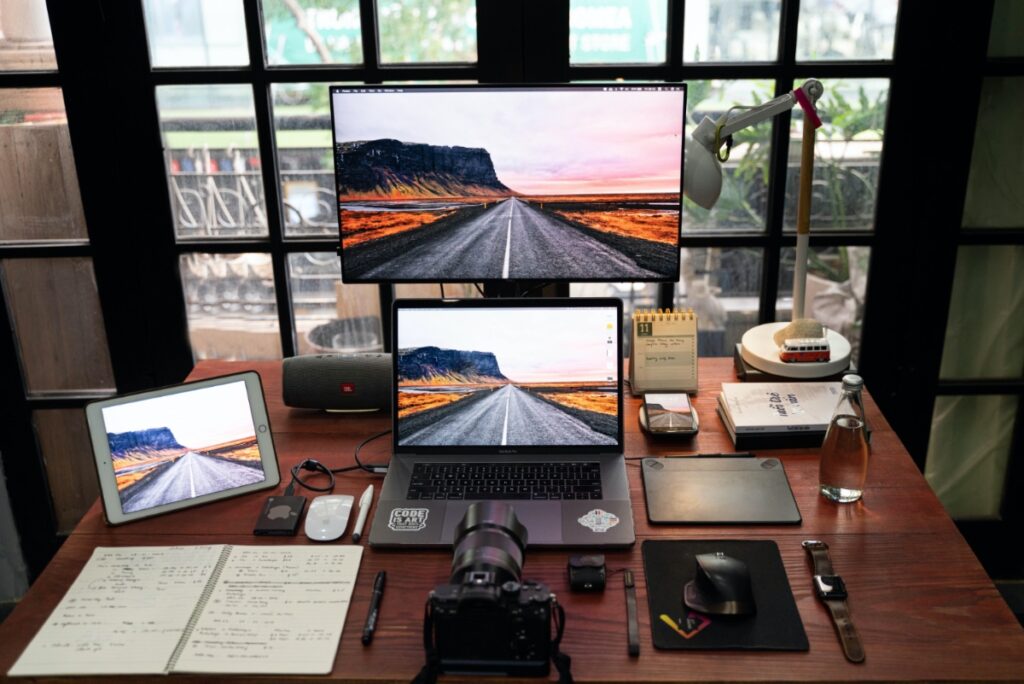
MacBooks and desktop Macs allow users to connect an external display or secondary monitor to their device. With the help of external monitors you can reduce distractions, increase desktop space, and let you use more applications simultaneously.
Nevertheless, there is one drawback: MacBooks can fail to detect external displays when they are connected. Sometimes a blank dead screen appears if you connect one, or the monitor starts flashing for a few seconds before turning black.
When there is an urgent project at hand, this can cause frustration. Luckily, if the problem persists, you can try the following methods.
In this article, we will review each possible fix to help you get back on track.
Fix Mac External Display Not Detected Issue
Here are the solutions that could help you in fixing Mac external display not detected issue.
Reconnect Cable or Adapter
If the Mac display not detected, remove the external display cable from your Mac and reconnect it. In case your external display cable does not connect to your Mac’s ports, you can use a Thunderbolt adapter or USB-C.
When connecting a display to a USB-C or Thunderbolt adapter, make sure the adapter is compatible with DisplayPort Alt Mode or Thunderbolt/USB 4.
Check How Many Displays You Can Connect
If you are trying to connect multiple displays to your Mac, then it is a good idea to find out how many external displays your Mac can support by visiting the Tech Specs page.
Here’s how:
Step 1: In the Apple menu, click About This Mac, double-click the serial number, and press Command-C to copy it.
Step 2: On the Tech Specs page, click the Search Tech Specs bar, then type your computer’s serial number, and press Search.
Step 3: Go to the specifications page of your Mac. Under Video Support or Graphics, you can find the number of displays your Mac can support.
If Mac Screen is Blurry
You may need to check your Mac display’s resolution and brightness if blurry or pixelated images appear.
Adjust the Resolution
If your Mac’s secondary display appears blurry, then you can fix it by adjusting the resolution of your device. You can do this by following the steps below.
Step 1: Select System Preferences from the Apple menu, then click Displays.
Step 2: Click on Display Settings button and then choose your External Display from the side pane. Then click on Scaled to see additional resolutions.
Step 3: Make your resolution selection, then click Done.
Note: You will need to check the specifications page to find out what display resolutions your Mac supports in case the expected resolution doesn’t appear.
Adjust the Brightness
Using the increase brightness or decrease brightness keys on your keyboard, you can adjust the brightness of your Apple display.
You can also adjust the brightness of each monitor separately. To do so, go to System Preferences -> Displays, you can adjust the brightness for each connected display.
Note: Occasionally, displays made by companies other than Apple have built-in brightness and color adjustments. If your display includes built-in controls, check the documentation.
Conclusion
An external monitor transforms an already productive MacBook into a powerful workstation. In addition to enabling more applications, you can avoid clutter or even enjoy an immersive gaming experience.
In spite of this, external display connection issues are relatively common. Our guide outlines multiple methods that will help you detect an external display on MacBooks. You can make your computing environment more productive once the issue is resolved.
Are you experiencing any problems with your MacBook when it comes to connecting an external display? Let us know in the comments section below.


