


No need to turn on your computer just to print an important document so you can double-check it before sending it off to the client.
Wireless printing from your iPhone and iPad has become an increasingly popular feature in recent years. A wireless printing protocol developed by Apple called AirPrint makes the process seamless. You only required an AirPrint-enabled printer.
However, if your printer is not AirPrint-enabled, you can still print wirelessly in different ways.
In this article, we will guide you on how to print from iPhone or iPad, so read on.
How to Print from iPhone or iPad Using AirPrint
Using AirPrint, you can print documents without downloading and installing drivers. Also, no additional software is required to add the printer to your device.
While AirPrint has minimal requirements, they are necessary in order to make use of it.
Requirements to Use AirPrint
- The updated iOS must be installed on your iPad or iPhone.
- Ensure that your iPhone/iPad and printer are connected to the same Wi-Fi network.
- The printer should be compatible with AirPrint.
Now that you are aware of all the AirPrint requirements, you can now begin printing from your device by following the steps listed below.
Print from iPhone via AirPrint-enabled printer

You can follow these steps to print from your iPhone from an AirPrint enabled printer.
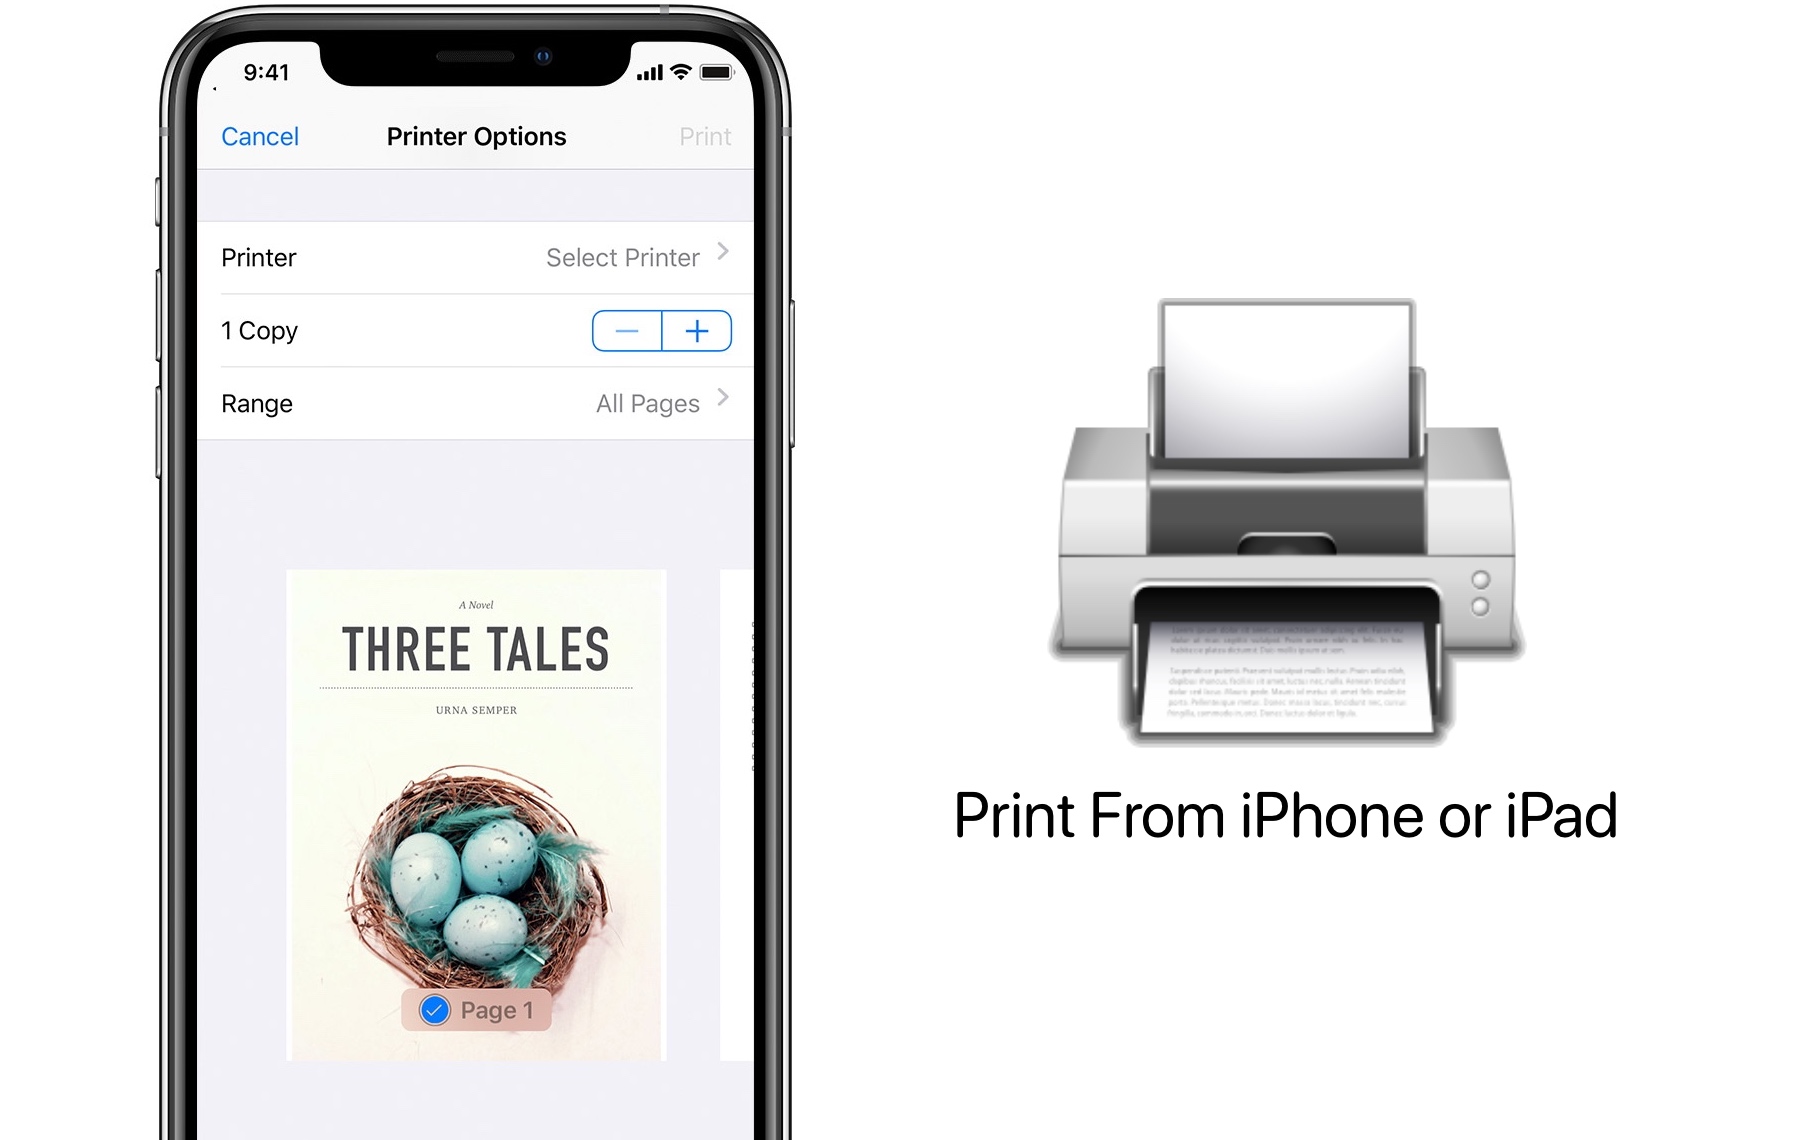
Step 1. Go to Photos, Safari, Mail, etc., and select the file you wish to print.
Step 2. Tap the Share icon and select Print.
Step 3. Select a printer.
Step 4. Set the paper size, number of copies, quality, etc.
Step 5. Hit Print at the top right.
How to View or Cancel the Print

You can view and cancel prints going through iPhone’s AirPrint feature to an AirPrint enabled printer by following the steps below.
Step 1. On your home screen, swipe up from the bottom edge of the screen to access App Switcher.
Step 2. Go to the Print center.
Step 3. “Cancel Printing” option allows you to view the printing progress and cancel it.
How to AirPrint from iPhone or iPad without Network Connection
If the printer’s Wi-Fi network is accessible from your iPhone or iPad, you can use AirPrint to print from the device. To do so,
Step 1. Tap Settings and head to Wi-Fi.
Step 2. Go to your printer under Choose a Network.
Step 3. Now, follow the above-mentioned steps to print via AirPrint anytime anywhere.
How to Print from iPhone or iPad without AirPrint
Do you own a modern printer that does not support AirPrint?
Well, most printer manufacturers have already developed applications that let you print wirelessly with your iPhone or iPad, so don’t stress about it.
You can download your printer’s official app from the App Store and use it to send printing tasks to your printer. You can find information about the official app of your printer on its manual or manufacturer’s website.
There will be some variations in the steps for different apps, but the general outline is as follows:
Step 1. Install a printer application from the App Store. This way you can add printer to iPhone.
Step 2. Allow the required permissions.
Step 3. Select the files you need to print and follow the on-screen instructions.
Step 4. Once done, tap Print.
Additionally, some printers include their email addresses as an option. After setting up your account, you must email the document to the designated address before printing. This allows remote printing from anywhere, and one can print from anywhere around the globe through the internet.
Conclusion
The aforementioned guide will definitely be helpful to print wirelessly through iPhone or iPad. You can even picture print from iPhone using the same guidelines.
If you have any queries related to this topic, Let us know in the comments below.

