iPhone is the most popular camera device in the world, not because it takes great photos but because it is always present with you. As more and more people rely on their iPhones and even iPads to capture the best moments of their lives, there are a few tips that they need to follow to make sure their photos maintain the best picture quality possible. In this post we will share 5 useful tips that every iPhone user should follow in order to take good photos.
Properly focus on the subject(s)
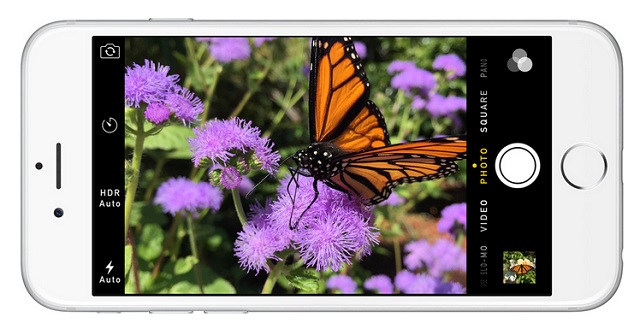
Thanks to the touchscreen present on iOS devices it is easier than ever to focus on subjects you want to take photos of. All you have to do is tap on the object where you want to focus the camera on. Doing so properly can have a significant effect on your picture’s quality. Of course tapping on the screen and using digital focus isn’t the only solution here, you can also move your device and change its position to improve its overall focusing ability.
Do not use flash
If there’s one thing that I have learnt from my personal experience of taking photos with an iPhone, it is to avoid using flash wherever possible. Using flash not only gives your image an unnatural look but also ruins the colors and the scene. The only exception for using flash is when the scene you are trying to capture is in a dark place and no other light source is available. Instead of using the flash try lighting up the room using room’s lighting or increasing using natural light as much as possible.
Avoid using zoom
One thing that sucks the most on the smartphone cameras is that they feature digital zoom. This means unlike real cameras the lens is not physically adjusting itself to zoom the image, instead the device is just magnifying on the subject and cropping rest of the image. The result is a pixalated and blurry image. Instead of using the pinch to zoom gesture to zoom try moving closer to the object and using focus to your advantage.
Selfies? Use the back camera instead
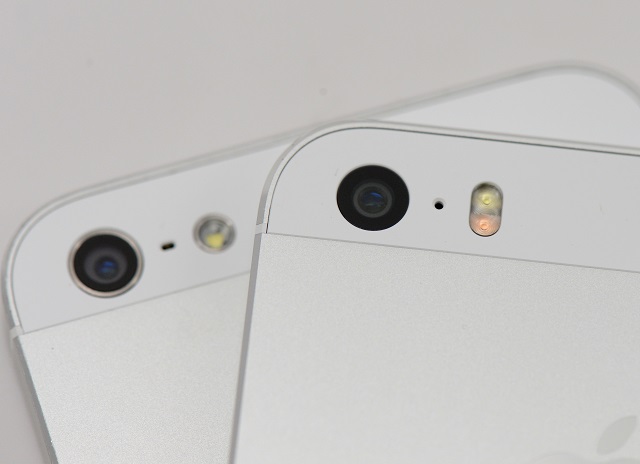
If you are taking a selfie that you will be using as your social media profile or something more meaningful than just sharing on Instagram, it is advisable that you try to utilize the back camera rather than using the front camera. While one of the main purpose of the front camera is to take self portraits (apart from making Facetime calls) the quality of these images is severely lower than what you can get by using the back camera. On the latest iPhones the front camera is only 1.2-megapixels while on the back it goes up to 8-megapixel. The lens on the back is also of a much superior quality capable of taking much better images.
So next time you want to take a selfie, use the back camera instead. You can make the camera app shot by pressing the volume buttons or by doing this.
Ditch the stock Camera app
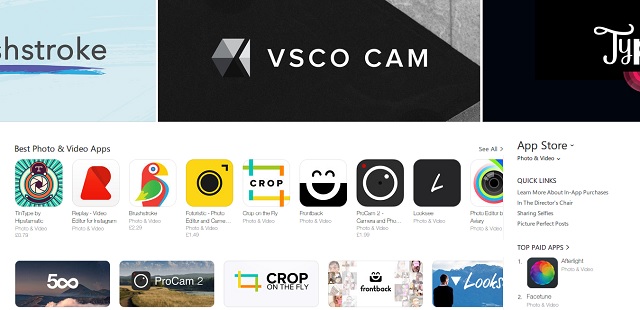
The stock iOS Camera app is great, however it lacks a lot of features that are required if you want to take serious photos with your iPhone. There are tons of camera applications available in the App Store that offer far more advanced features than are available in Apple’s app. They offer features like exposure control, ability to change ISO, change resolution and much more. (Tips by HowToGeek)
Also read: Top 8 photo editing apps for iPhone or iPad: Litely, VSCO Cam, Afterlight, Moldiv, Facetune and more


