


With some help from our iPhones and iPads, signing documents is suddenly quick, efficient, and stress-free. Using the pre-downloaded Apple Notes app on your device, you can be done in less than a minute!
This incredible tool lets users scan documents into PDF format, then send them directly to their destination without ever having to use a bulky machine. It’s perfect for filling out all sorts of paperwork such as doctor’s forms and leases as well as signing contracts.
Not only does it make the document look like an actual scan – it gives you the option to convert images into black and white and even combine multiple pages together into one PDF file when you’re finished. Try it out today and see just how convenient signing documents digitally with your smartphone can be!
How to Scan Docs on iPhone?
Using the Notes app on your iPhone or iPad to scan documents is an easy and convenient way to save important information digitally. You will probably need some help the first time you use it to get a decent result.

How to use a document scanner:
- Open the Notes app and click the paper-and-pen icon in the bottom right corner of the app to create a new note.
- Tap the Camera icon, then choose Scan Documents.
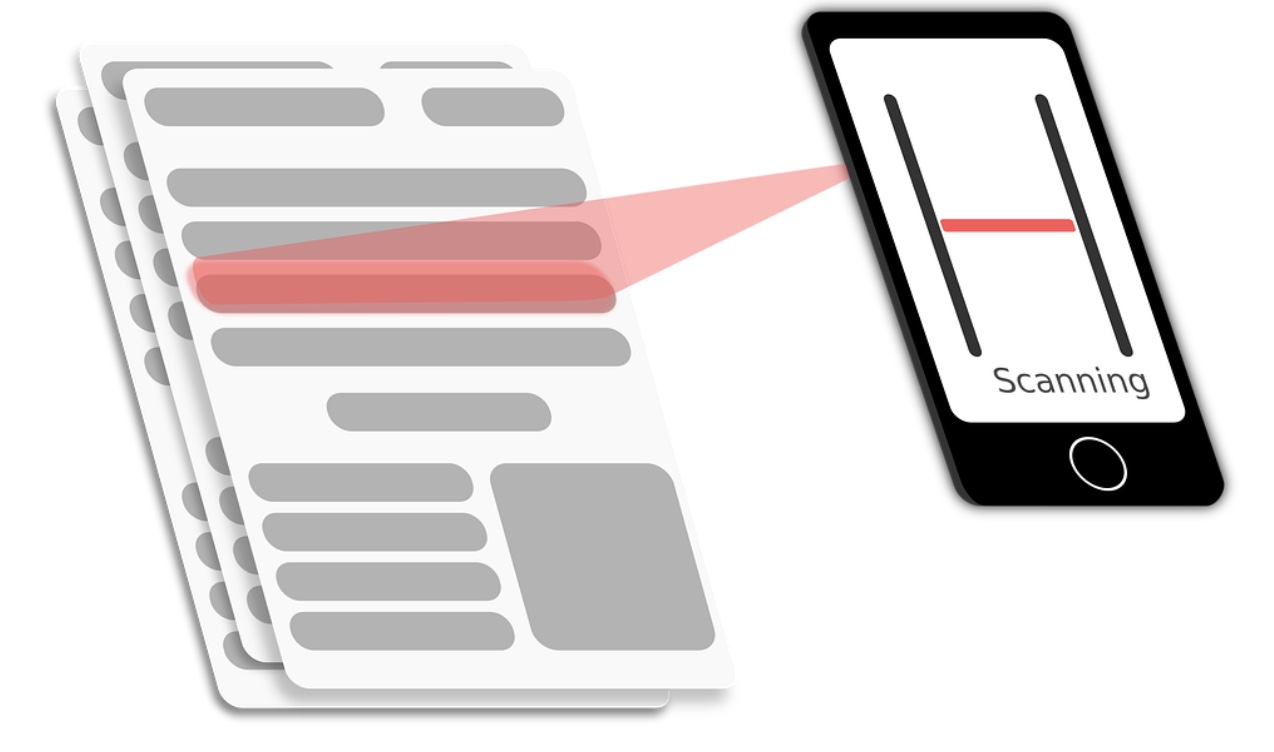
- Place your document so that it fits within the orange outlined box on your camera frame and wait for it to automatically scan.
- If you don’t see any movement, press either the shutter button or one of your device’s volume buttons and you’ll be ready to go!
7 Tips to Scan Documents on iPhone
If something didn’t go according to plan or there are additional requests when scanning documents, the following tips should help you.
1. The document is not recognized – what to do?
To get started, make sure that your document stands out from the background you’ll be scanning it on—for example, it’s best to place a white document onto a dark wooden table. It is also worth wiping down the camera and trying to move as little as possible during the scan.
2. Use PDF Scanner
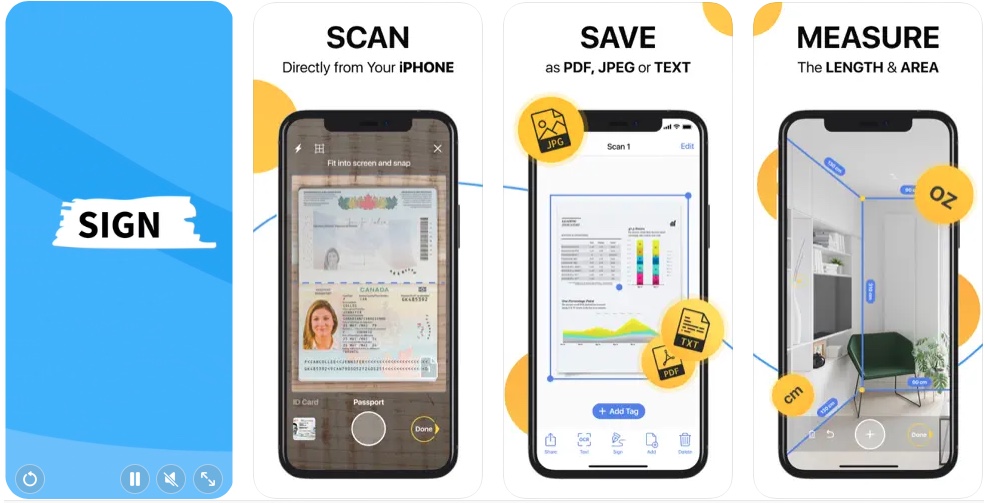
The Notes app for iPhone is the easiest way to scan documents, but not the best. If you need the best document scanner, then it’s here. First, it scans docs quickly. Secondly, the application can convert text into popular formats, including from pdf to docs.
Thirdly, this scanner app is much better and more accurate at recognizing text. Fourth, the application allows you to quickly share documents and manage docs id easier, including allowing you to set tags for easier navigation. Overall, PDF Scanner offers a more robust and functional way to convert text into digital documents compared to the classic Notes app.
3. Resize the scanned image
You also have an option to manually adjust how large you would like your scanned image to appear by clicking or dragging each corner of the scanning box – this can help ensure that edits will appear in their proper size on the screen.
4. Document editing
Editing a document just got a lot easier with the latest scanner technology. Now, you can easily rename, export, print, and even add pages to your scan with a few simple steps. To start, tap or click on the file name of your scan at the top of the screen if you’d like to rename it. To add a page to the scan, once it is saved simply look for and tap or click on the plus icon at the bottom left-hand corner of the screen.
You can even adjust the orientation and crop the document to suit your needs – both functions are accessible using their respective icons at the bottom right of your screen. Once you’re done editing, simply select or click on Export located at the top right corner of your document to send it off where it needs to go.
5. Save as PDF
Staying well-organized with important documents is a breeze with the latest iOS 16 update. With the built-in Notes app, you can now say goodbye to manually converting your scanned documents into PDFs by yourself.
To keep on top of these files with ease, all you need to do is tap your scanned document, tap the share button in the upper-right corner, and then tap any of your favorite apps that offer a one-tap saving of your PDFs like the Files app. This surely saves time and energy when having to manage multiple documents – great news for anyone looking to get a head start on organizing their digital life!
6. Share the document
If you are looking to quickly send a scanned document from your iOS device to a friend, family member, or colleague, the Notes app is an excellent option. It allows for easy and secure sharing of any PDF via the app of your choice in just four simple steps.
All you have to do is tap on the scanned document you want to share, tap the share button in the top right corner, select the app you want to use for sending it, and then click Share. Your PDF will be sent out instantly in no time!
7. Delete scanned document
Scanning a document can often be a tricky process if you’re not used to it. By the time you’ve realized that you scanned the same document twice or want to start over again, it might be too late.
Thankfully, you don’t have to delete an entire document if this happens; with just a few taps, you can delete a single scan without erasing the entire thing. All you need to do is open up the existing file, tap the trash can in the bottom-right corner, and select Delete Scan–it’s as easy as that!
Conclusion
The Notes app provides basic functionality for scanning documents on the iPhone. If its capabilities are not enough, you can install a more reliable tool. The PDF Scanner app is a great tool for anyone looking to quickly and easily scan documents into digital formats.
With its quick scanning capabilities, document conversion, editing tools, save-as-PDF feature, sharing options, and delete scan functions – this app has it all! It’s the perfect solution to keep you organized and on top of.

