


In this step-by-step guide, we will walk you through the steps on how to cancel a subscription on your Apple device. This guide will also show you how to cancel a subscription that you got from an app downloaded from the App Store.
Since prices are surging, many people have started wondering if they really need to spend so much on subscription services they do not use as often as they expected.
Fortunately, one of the most convenient things about Apple’s subscription services is that you can cancel them anytime. If you don’t want to continue paying for Apple TV, Apple Music, Apple Arcade, Apple News, or any other Apple service – including Apple One – you can cancel it by following simple steps.
Using the same steps outlined below, you can cancel subscriptions that you have signed up for on any iOS App Store, Mac App Store, or Apple TV Store.
Let’s first check how to manage subscriptions on iPhone.
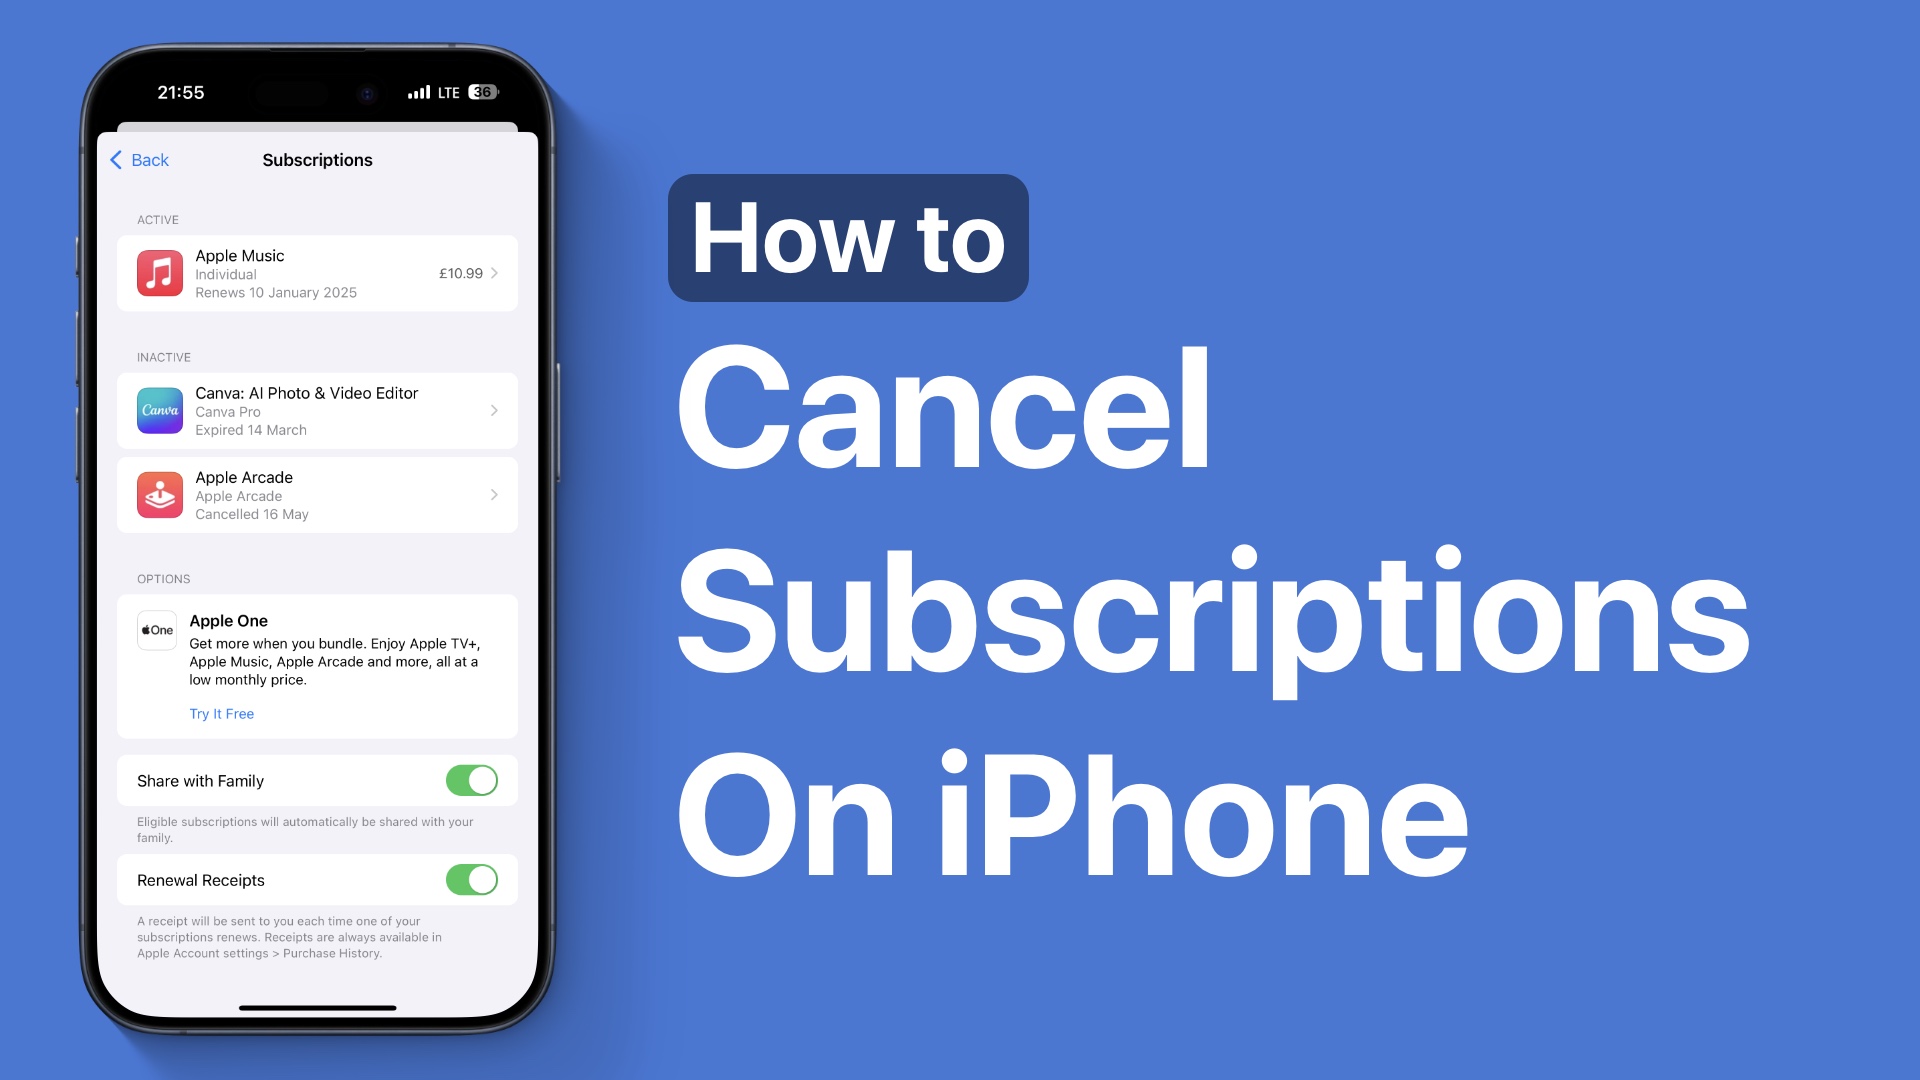
How to Cancel a Subscription on Your iPhone or iPad
If you want to cancel HBO Now, Match.com, or Apple Arcade’s free trial, here’s what you need to do. Our guide below will show you how to cancel your subscription through the App Store on iPhone, Mac, and Windows.
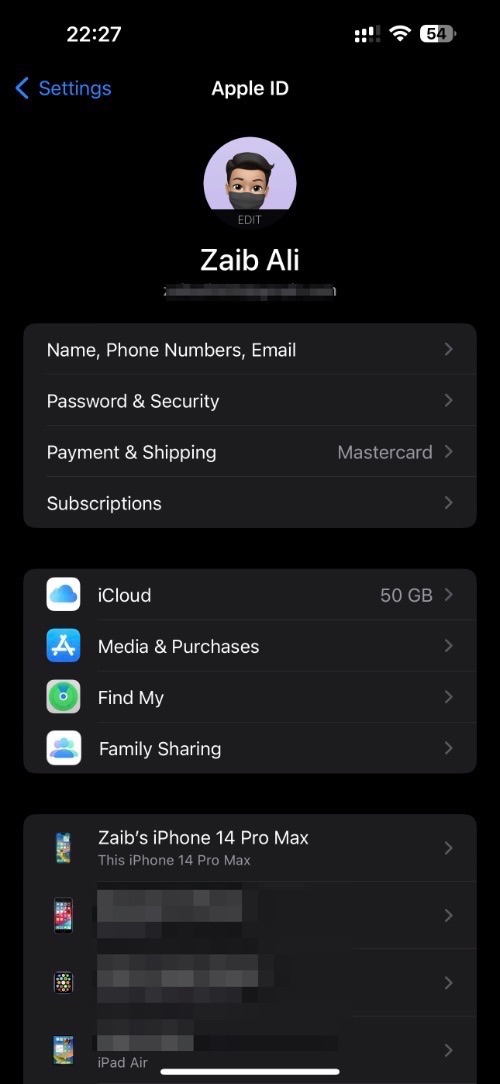
Step 1. On your iOS device go to the Settings app.
Step 2. Enter your name.
Step 3. Tap Subscriptions.
Step 4. Select the subscription you wish to cancel.
Step 5. Tap Cancel Subscription.
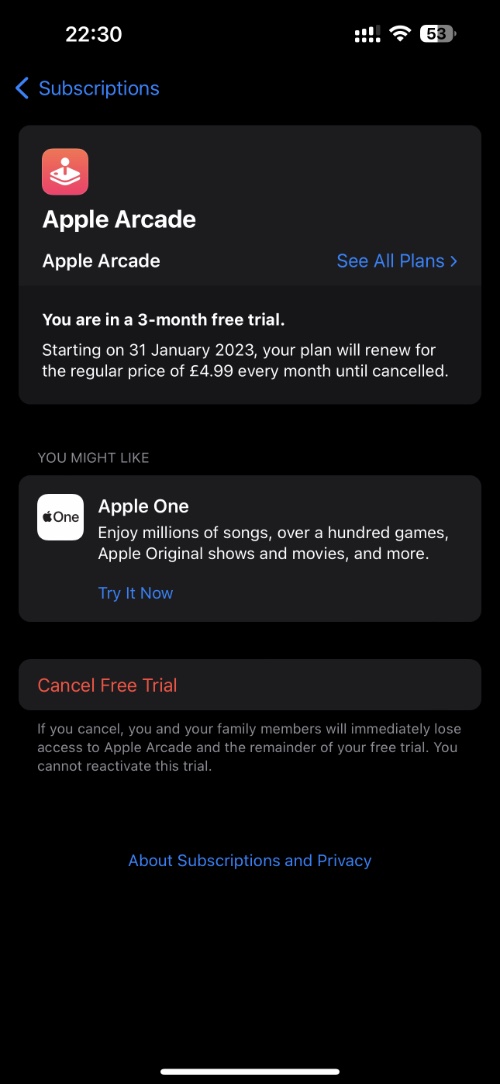
Note: You might have to scroll down to find the Cancel Subscription button. If the Cancel button does not appear or if you see an expiration message in red, the subscription has already been canceled.
How to Cancel Apple Subscription on Mac
Here’s how you can cancel your Apple subscription on your Mac.
Step 1. On your Mac open the Mac App Store app.
Step 2. Click on your name. If you are unable to find your name, click Sign In.
Step 3. Go to Account Settings.
Step 4. Under Manage look for subscriptions and click on the ‘Manage‘ button located next to it.
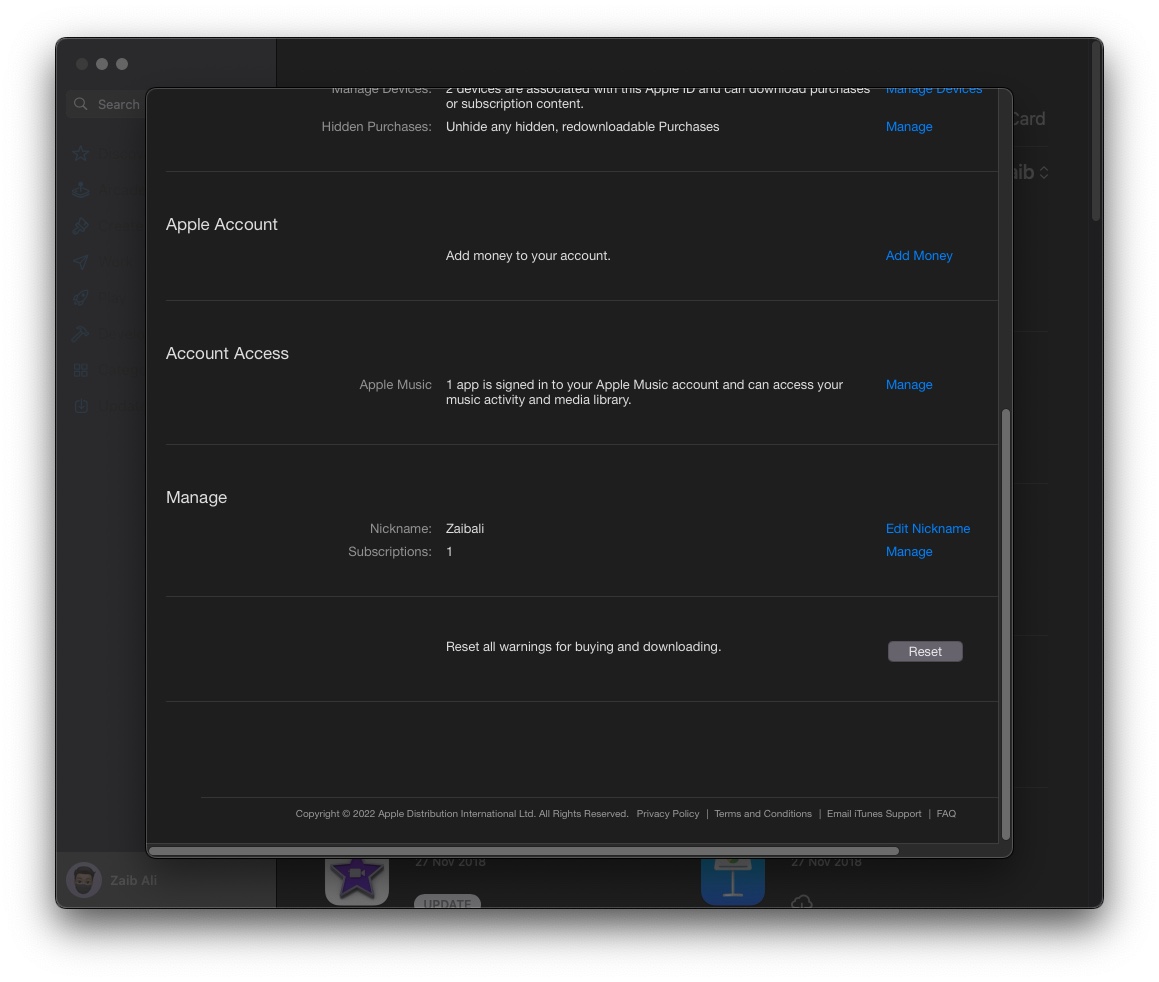
Step 5. Click Edit, next to the subscription.
Step 6. Click Cancel Subscription.
Note: No Cancel or Cancel Subscription button indicates the subscription has already been canceled.
How to Cancel Apple Subscription on Windows PC
Step 1. On your Windows PC open iTunes.
Step 2. Choose Account from the menu bar at the top of the iTunes window, then select View My Account.
Step 3. Jump to the Settings section. Click Manage, next to Subscriptions.
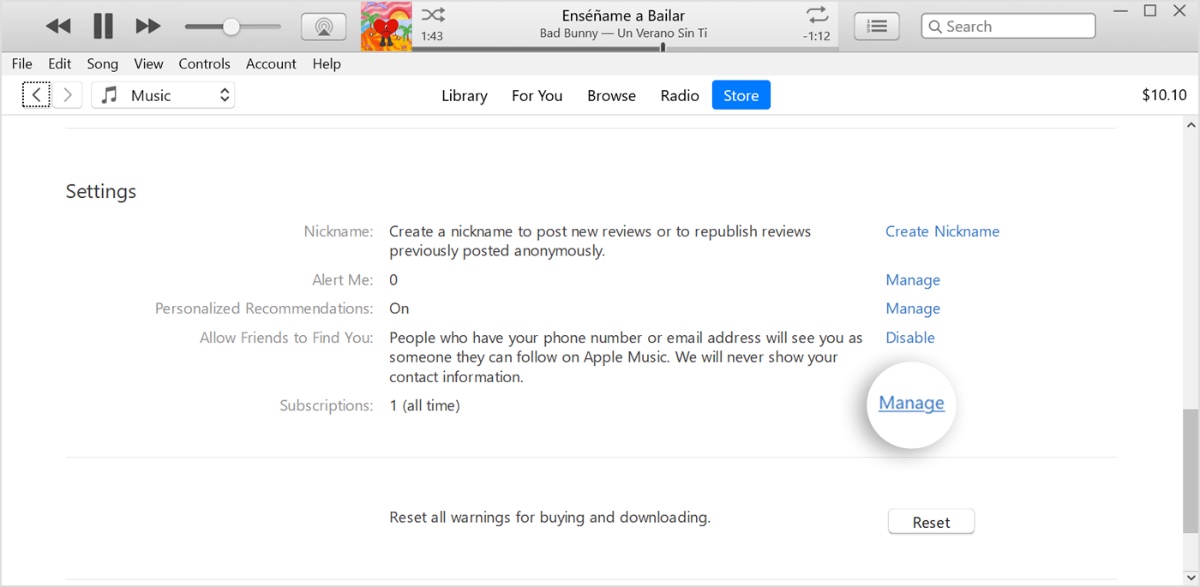
Step 4. Once you have located the subscription you want to cancel, click the Edit button.
Step 5. Click Cancel Subscription.
Note: No Cancel or Cancel Subscription button indicates the subscription has already been canceled.
Can’t Find the Subscription That You Want to Cancel?
You can cancel iCloud+ in your iCloud storage settings.
If you aren’t trying to cancel iCloud+, find your receipt:
Step 1. Search your email for the words “receipt from Apple.”
Step 2. On the receipt for the subscription, check which Apple ID was used.
Requirements to Ponder
- If another Apple ID that you use appears on the receipt, sign in with that Apple ID and use the steps in this article to cancel the subscription.
- If you can’t find a receipt from Apple for the subscription, you might have bought the subscription from another company. To find out which company bills you, check your bank or credit card statement. To cancel the subscription, you must contact the company that bills you for the subscription.
- If a family member’s Apple ID appears on the receipt, ask that family member to use the steps in this article to cancel the subscription. You can’t cancel a family member’s subscription.
When All is Done
Now that you have decided to cancel a subscription service and know how to cancel app subscription on iOS, go for it. Save some bucks from your hard-earned money and buy something more meaningful to you.
Have related queries? Let us know in the comments section.

