


One of the significant changes introduced with the release of iOS 16.3 is the support for physical security keys. With this change, iPhone and iPad users can protect their Apple IDs with physical security keys and add a layer of protection to their Apple accounts with two-factor authentication.
When the Security Keys feature is activated on an Apple account users need to authenticate with a FIDO hardware security key before they can sign into their online account. A security key is a small USB stick-like device that users can insert into the lightning or USB-C port of their device. In addition to USB, users can also buy and use NFC or Bluetooth-based security keys.
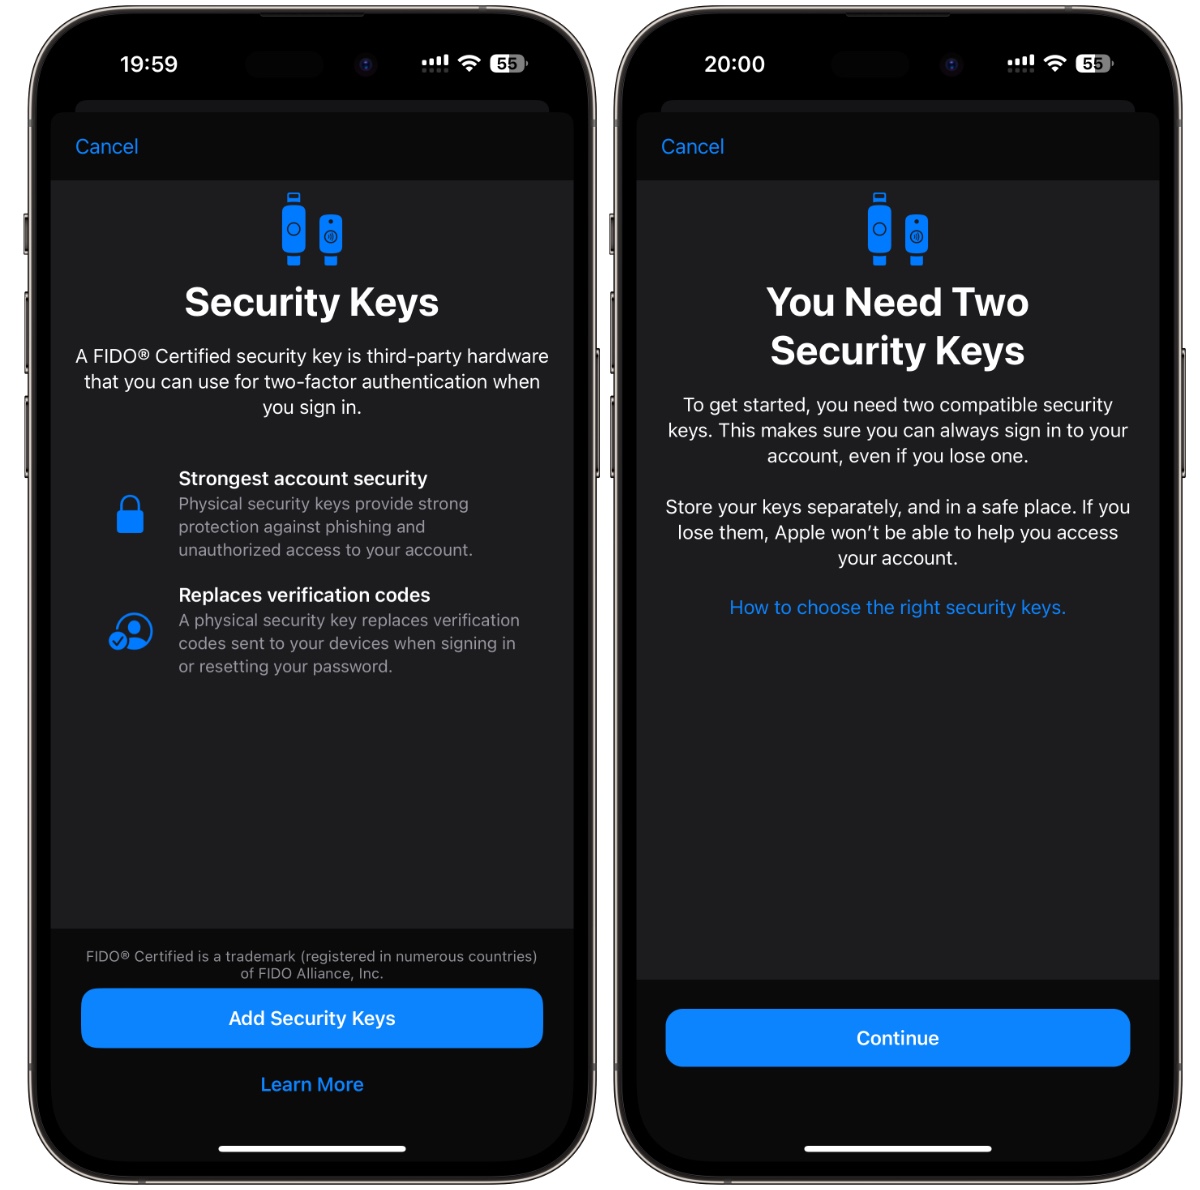
You need two separate security keys in order to activate the Security Keys feature on your Apple account. You are supposed to store both security keys separately so you can use the other one in case you end up losing one of them. If you end up losing both your security keys, then even Apple won’t be able to help you in recovering your account.
After the Security Keys feature has been activated on your account verification codes will no longer be sent to your trusted devices for login authentications.
In addition to that you will no longer be able to sign in with your Apple ID on devices that are running iOS 16.2 or lower. You will also no longer be able to log into iCloud for Windows.
Add Security Keys To Apple ID
Once you have bought yourself physical security keys, you can turn on the Security Keys feature on your Apple ID by following the steps below.
Before you follow the steps given below make sure your iPhone or Pad is running iOS 16.3 or iPadOS 16.3 or later. For Macs make sure your Mac is powered by macOS Ventura 13.2 or later.
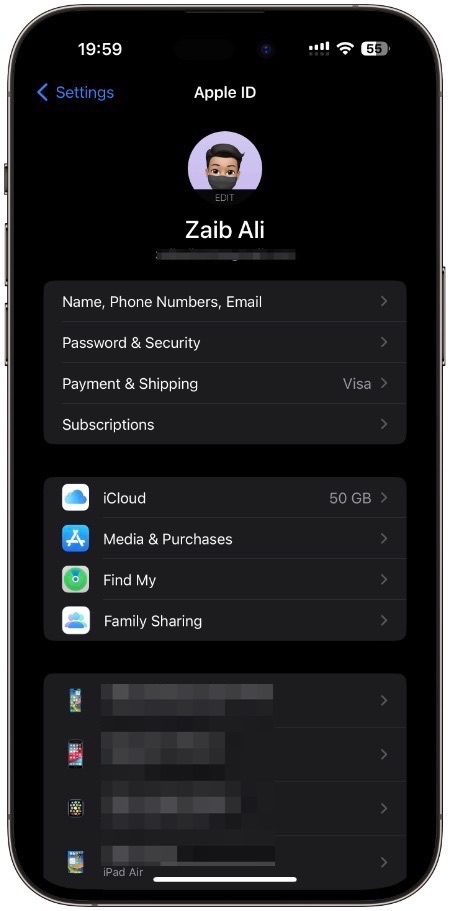
Step 1. On your iPhone or iPad open Settings and tap on your name from the top.
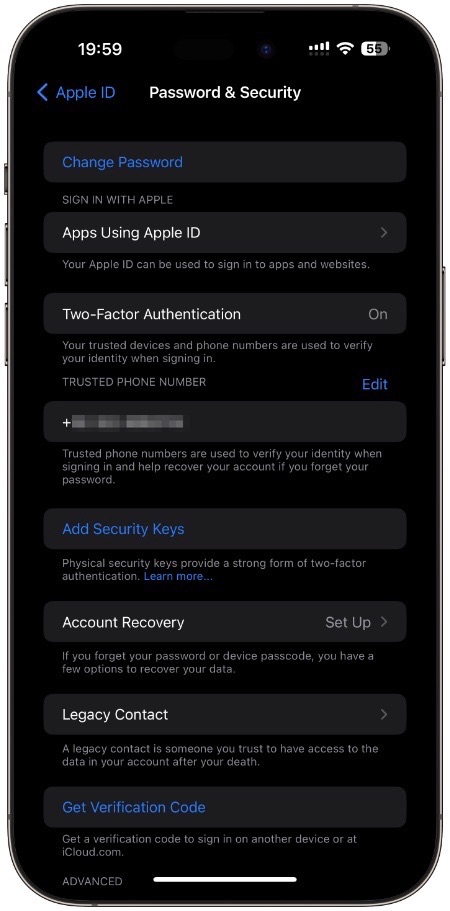
Step 2. On the next page tap on ‘Password & Security‘ option.
Step 3. Now tap on ‘Add Security Keys‘ option.
Step 4. Next tap on ‘Add Security Keys‘ and follow the on -screen instructions.
Add Security Keys to Apple ID on Mac
You can follow the steps below in order to add security keys to Apple ID on Mac.
Step 1. From the top menu click on the Apple logo and then on ‘System Settings‘.
Step 2. From the side pane click on your name from the top.
Step 3. Now click on ‘Add Security Keys‘ option.
Next, follow the on-screen instructions in order to add security keys to your Apple ID.
