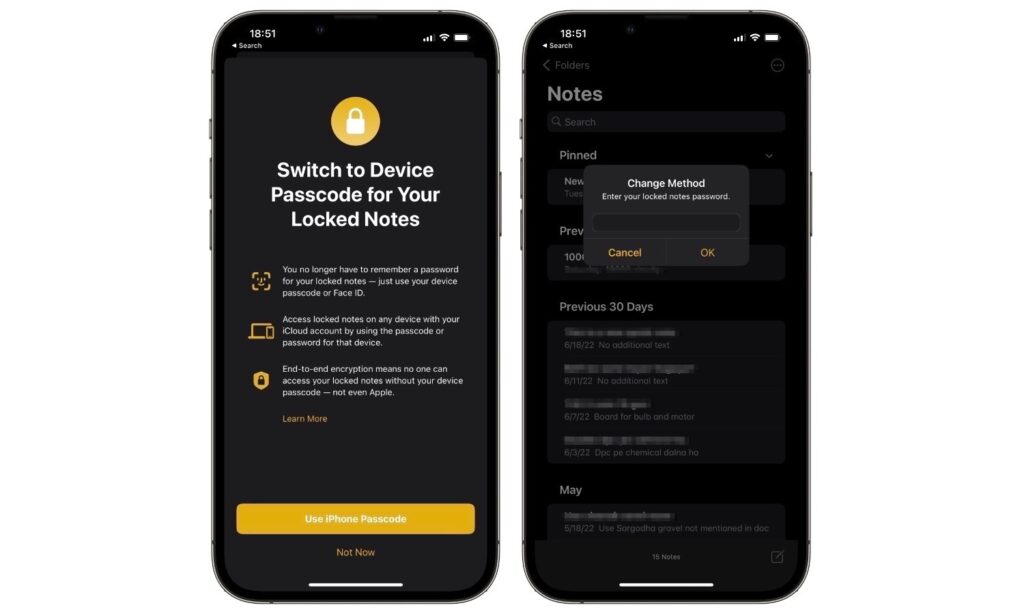
If you’re running iOS 16 or later, then you can now lock notes created inside the Notes app using your device’s passcode. Previously users were required to create a password that they needed to enter in order to unlock a note in the Notes app.
With iOS 16 Apple has changed the way locking works with the Notes app, by allowing users to lock Notes using their device’s passcode.
For example, you can lock a note on your iPhone and unlock it by entering iPhone’s passcode along with unlocking it with Face ID or Touch ID scan.
Similarly when you access the same note on your iPad, you can access it by entering the passcode of the iPad you are trying to access the note on.
By letting users lock notes inside Notes app with passcode Apple has made user’s life easier, as they do not have to remember the password for the notes app and do not have the risk of forgetting the password and losing access to locked notes.
Notes app also offers a Quick Notes feature on iPhone now.
Lock notes with iPhone or iPad passcode
Users can lock new notes with passcode or add passcode lock to existing notes that are already protected with a password by following the steps below.
Step 1. Launch the Notes app and find the note that you want to lock with your iPhone’s passcode.
Step 2. From the notes list page tap and hold on the note that you want to lock with passcode and then tap on the ‘Lock Note’ button.
Step 3. If you have previously locked a note on your iPhone with a password, then you will be asked to enter the password to proceed. Enter your old passcode.
That’s it, now all of your Notes will be protected with your iPhone’s passcode. When accessing the same note with another iCloud connected device, you will be required to enter the passcode of the device you are accessing the note on.


