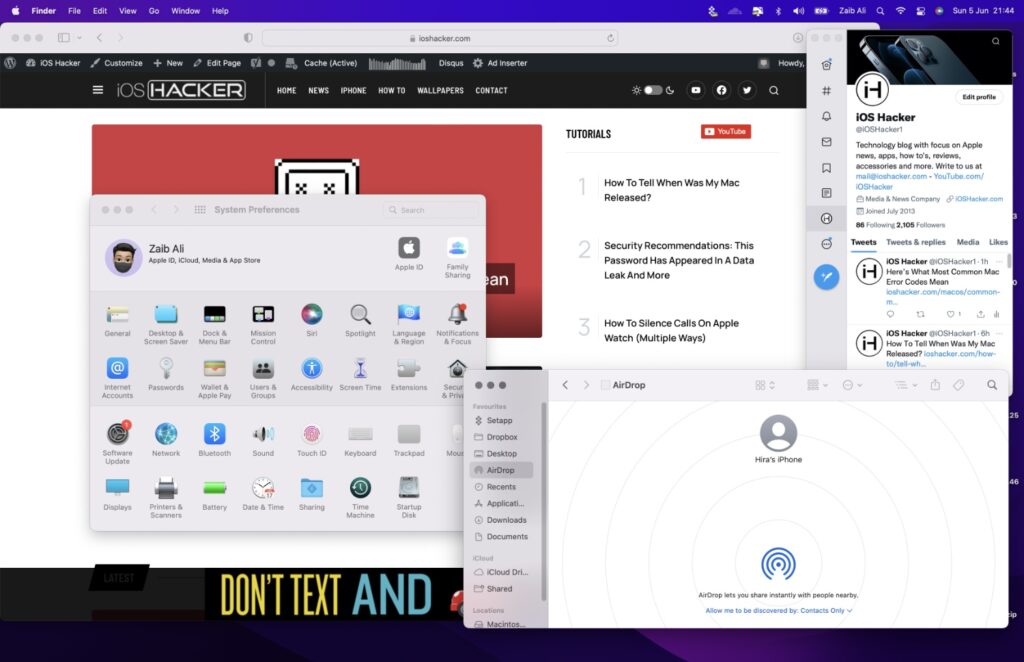
One of the most underrated features on macOS is the ability to take screenshots on Mac. Screenshots are super important as they allow you to save what’s currently on your Mac’s screen in a picture format and even share that with someone else.
If you’re new to the Mac and are not familiar with how to take screenshots, then don’t worry you will know learn how to do so by the end of reading this article.
So read on to learn about how to take screenshots on macOS.
Remember the steps are same on macOS Monterey or any other version released before it. The shortcuts are most likely to remain the same in the next versions of macOS as well.
The screenshots are saved in PNG on your desktop. If you are using multiple monitors, then the image will be saved on the main screen.
Here’s how you can take screenshot on iPhone and iPad.
Taking screenshot of the whole screen
Here’s how you can instantly take screenshot of the whole screen on your Mac.
If you have multiple monitors attached to your Mac, this shortcut will also take screenshot of them as well and save them on the desktop.
Step 1. Set up the screen as you want it to appear in the screenshot.
Step 2. To take a screenshot press the Shift + Command + 3 buttons from the keyboard. You don’t have to press them all at once or in any specific order.
Step 3. Start by pressing command then shift and finally 3. Just don’t release any of the buttons until the screenshot is taken.
Step 4. Access the screenshot from your desktop.
Taking screenshot of a particular section of the screen
If you want to take a screenshot of a particular part of the screen instead of the whole screen, then you can also do so by performing the steps below.
Step 1. Press the Shift + Command + 4 buttons.
Step 2. Once you have pressed the buttons you will be able to use the cursor to select the part of the screen you want to take screenshot of (at this point you can let go of the keyboard buttons).
Step 3. Left click with the mouse and drag on the important area, then let go of the click.
Step 4. Access the screenshot from the desktop.
Taking screenshot but saving on Clipboard and not the desktop
You can also save Mac screenshot taken with the methods above in the clipboard by simply adding Control key to your combination.
- Press Shift + Command + Control + 3 for full screenshot and then press ‘Command + V’ to paste it anywhere.
- Press Shift + Command + Control + 4 for taking screenshot of part of the screen. Drag to select the area you want to include in the screenshot and let go.
- Press ‘Control + V‘ where you want to paste the image.
Taking screenshot of a particular window or app
You can take Mac screenshot of a particular window or app opened on your screen by following the steps below.
- Open the app you want to take screenshot of.
- Press ‘Command + Shift + 4‘ and your cursor will become crosshairs.
- Then hit the Space key and now the cursor will become a camera.
- Move the cursor over the window or app you want to take the screenshot of and click. This should save a screenshot of that app.
There you have it folks, this is how you can take screenshot on Mac. If you have any questions, then let us know in the comments below.


